Exactly the area you draw
Leave notifications, taskbars and other windows out of the video by recording only the region you need.
Custom area
Draw a box around any part of your screen and record only that. Press Ctrl+Shift+A to select the area, then record at up to 4K and 120 fps.
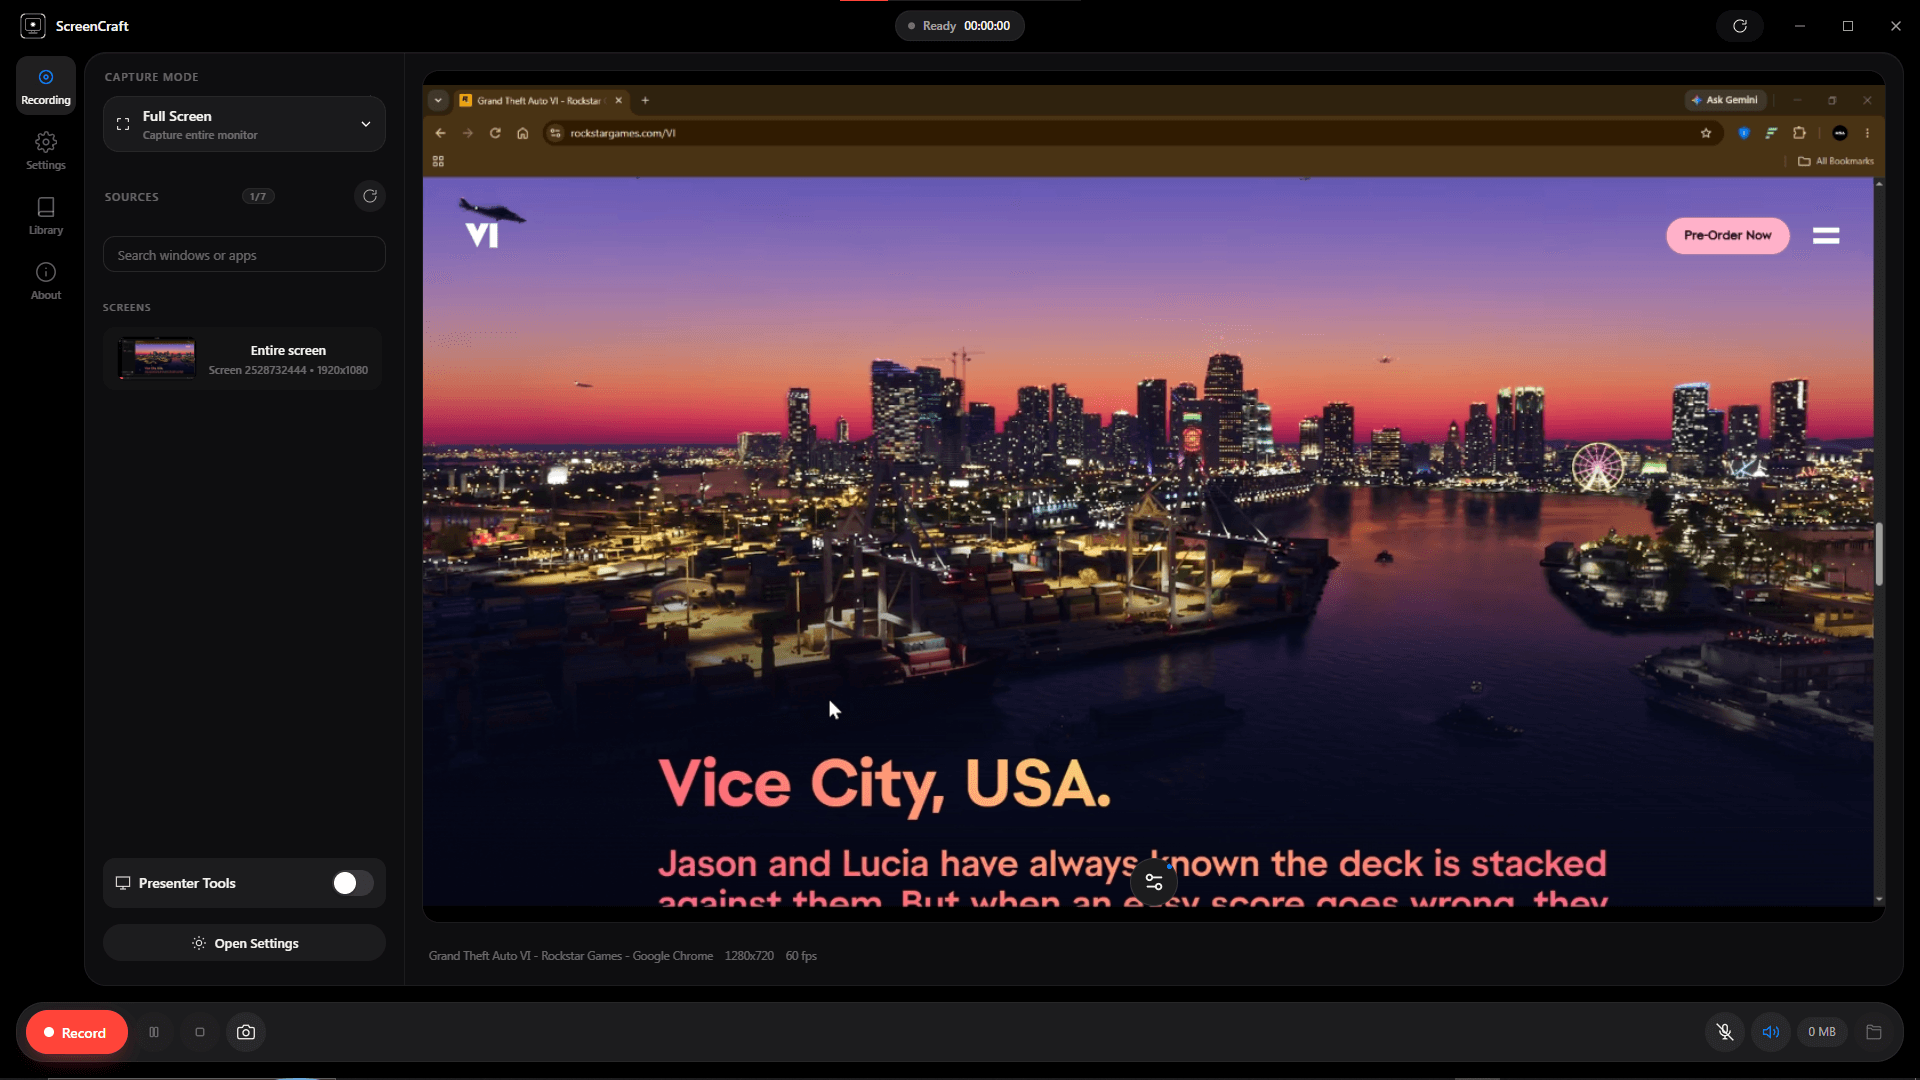
How it works
On the Record page, open Capture mode and choose the region option instead of Full Screen.
Press Ctrl+Shift+A, then drag a box around the part of the screen you want. Only that area is recorded.
Choose a preset or set resolution and frame rate yourself, from 720p to 4K and 30, 60 or 120 fps.
Press Record or Ctrl+Shift+R. Press it again to stop, and the video appears in your Library.
Leave notifications, taskbars and other windows out of the video by recording only the region you need.
Ctrl+Shift+A selects the capture area from anywhere, so you can set it up without hunting through menus.
A custom area uses the same resolution and frame rate options as full screen recording.
Let the camera glide and zoom to your clicks inside the area you chose, with no editing.
Draw, highlight and point while you record a custom area, just like in any other capture mode.
Record system audio and your voice together with the area you selected.
Questions
Open ScreenCraft, choose the region option in Capture mode, press Ctrl+Shift+A and drag a box around the area. Then press Record or Ctrl+Shift+R to start.
Ctrl+Shift+A selects the capture area. Ctrl+Shift+R starts and stops recording.
Yes. A custom area uses the same options as the other capture modes, from 720p to 4K and 30, 60 or 120 fps. 4K and 120 fps need a display and a PC that can deliver them.
Yes. Cinematic Recording works with full screen, window and region capture, and the Presenter tools work in every capture mode.
Yes. ScreenCraft is free to download and use, with no watermark and no account.
Free screen recorder for Windows 10 and 11. No watermark, no account.